Disassemble Shower Head - A Guide To Easy Home Care
Is your morning shower feeling a little less invigorating than it used to? Perhaps the water isn't flowing quite right, or maybe it's spraying in all sorts of directions. You know, a shower is a really important part of your daily routine, a space where you can unwind and feel refreshed. But over time, these helpful bathroom fixtures can gather up mineral deposits, dirt, or even start to act a bit funny.
Learning how to take apart your shower head, even just a little bit, can truly help you keep it clean, look after it, and sometimes even make it work better. This simple skill can actually save you a good deal of time and stop you from getting frustrated when your shower isn't quite doing its job. It's about keeping that little oasis in your bathroom in top shape, so you can enjoy every single wash.
This guide will walk you through the steps needed to get your shower head apart, offering friendly advice and practical tips. We'll talk about the tools you might need, how to deal with stubborn bits, and what to look for along the way. So, if you're ready to bring back that perfect spray, let's get started on understanding how to disassemble your shower head for a better experience.
Table of Contents
- Why Bother to Disassemble Your Shower Head?
- Getting Ready to Disassemble Your Shower Head
- How Do You Get a Stuck Shower Head to Disassemble?
- Gently Loosening the Shower Head to Disassemble
- What Does a Shower Head Flow Restrictor Look Like When You Disassemble?
- Dealing with Specific Shower Head Disassembly Types
- Can You Really Fix a Leaky Shower Head by Disassembling It?
- Putting Your Shower Head Back Together After Disassembly
Why Bother to Disassemble Your Shower Head?
You might be wondering, "Why would I even want to take apart my shower head?" Well, it's a pretty good question, actually. Think about it: your shower head works hard every day, pushing out water for your comfort. Over time, tiny bits of minerals, like calcium and lime, that are naturally found in your water can build up inside. This gunk can block the little holes where the water comes out, making your shower spray uneven or just weak. So, to keep things flowing nicely and make sure your shower is still that relaxing spot, knowing how to disassemble it becomes quite useful. It helps you get to those hidden spots where grime likes to gather, allowing you to give it a proper cleaning and bring back its full potential, in a way.
Getting Ready to Disassemble Your Shower Head
Before you even think about trying to disassemble your shower head, there are a couple of really important things to do first. The very first step, and honestly, a big one, is to make sure no water will come gushing out when you start your work. So, you'll need to turn off the water supply to your shower. Usually, this means finding the main water valve for your home or, if you're lucky, a shut-off valve specifically for your shower. After you've closed that valve, just turn on the shower faucet for a moment. This helps release any water still in the pipes, confirming that the water supply has been completely stopped. This little action prevents any unexpected splashes or a big mess while you're working, which is pretty handy, you know?
Next, it's a good idea to put a bucket or some sort of basin right underneath the shower head. This is just in case there's any water left that might drip out, or if some bits and pieces fall as you're taking things apart. It helps keep your bathroom floor dry and clean. Then, before you start twisting anything, grab a soft cloth. Wrap this cloth around the base of your shower head, right where it connects to the shower arm. This simple step is actually a big deal because it protects the shiny finish of your shower head from getting scratched or marked when you use tools like a wrench or pliers. It’s a bit like putting a shield on it, so to speak.
How Do You Get a Stuck Shower Head to Disassemble?
Sometimes, a shower head can be a bit stubborn, especially if it's been in place for a long time. It might feel like it's glued on there, honestly. If you try to turn it by hand, counterclockwise, and it just won't budge, then you'll need to use a little more persuasion. This is where your tools come into play. You might need to try a few different things to get it loose. For example, you could use a wrench, or maybe some pliers. For really tough ones, some folks even use a mallet or a center punch, though you have to be super careful with those, just a little tap, you know?
When a shower head is really stuck, it's often because of a buildup of rust, calcium, or lime that has basically cemented it in place. In this situation, you'll want to treat the problem area first. You can get special removers for rust, calcium, and lime. Apply one of these products to the connection point, letting it sit for a while to do its work. After that, some people find it helpful to add two coats of a penetrating liquid. This liquid is designed to seep into those tight spaces and help break down the gunk that's holding everything together. This whole process is usually done in an effort to loosen the connector, making it much easier to turn later on. It’s pretty much about weakening that bond, so you can then disassemble the shower head without too much fuss.
Gently Loosening the Shower Head to Disassemble
Once you've done all that preparation, it's time to actually get the shower head off. If you're using a wrench or pliers, remember that soft cloth we talked about? Make sure it's wrapped around the base of the shower head. Then, grip the base of the shower head with your wrench or pliers right over that cloth. You want a firm hold, but you don't need to squeeze it with all your might. The goal here is to gently turn the tool counterclockwise. You're trying to unscrew the shower head from the shower arm. Sometimes, it might take a little bit of gentle back-and-forth wiggling, but usually, with a bit of steady pressure, it will start to give. This initial step, getting the old shower head off, is really quite important for anything you plan to do next, like cleaning or replacing it, you know? It's the first big hurdle.
If you're dealing with a particularly stubborn one, and the shower head itself isn't turning easily, you might need a bit of a two-handed approach. In this case, wrap another cloth around the shower arm itself. Then, carefully hold the shower arm in place with a second pair of pliers. This stops the whole pipe from twisting while you apply pressure to the shower head with your wrench. This way, you're only turning the shower head and not putting any stress on your plumbing. It's about being smart and careful, so you don't accidentally cause more problems than you started with, which would be a bit of a headache, wouldn't it?
What Does a Shower Head Flow Restrictor Look Like When You Disassemble?
After you've successfully removed the shower head from the arm, you'll want to place it somewhere clean and safe, ready for its next steps, whether that's a good cleaning or getting ready for a new one. Now, take a moment to look closely at the parts of both the shower head and the arm. You're looking for anything that seems worn out, damaged, or any more of that mineral buildup on the shower head itself or on the threads of the shower arm. This quick check can tell you a lot about why your shower wasn't working as well as it should have been, you know?
When you start to disassemble the shower head further, you might come across something called a flow restrictor. People often ask, "What does a shower head flow restrictor look like?" Well, it's typically a small device, usually a little plastic disc or washer, that's put inside the shower head. Its whole job is to reduce the amount of water that comes out. You might see it once you get the main parts of the shower head apart. To get to it, you'll often need to carefully remove the mesh filter screen, which you can usually pry away using pliers. Once that screen is out of the way, you'll probably see the water flow regulator, which is what the flow restrictor essentially is. It's pretty much a small barrier to the water's path, you know, just a little thing that can make a big difference in water pressure.
After getting to the mesh filter screen, you'll want to clean it really well with plain tap water. Sometimes, just rinsing it under the faucet is enough to clear away any gunk. If there's more stubborn stuff stuck in there, you might need to use a soft brush, like an old toothbrush, to gently scrub the surface and get rid of any leftover dirt. This simple cleaning of the screen can often improve your shower's performance quite a bit, honestly, because it's a common spot for clogs.
Dealing with Specific Shower Head Disassembly Types
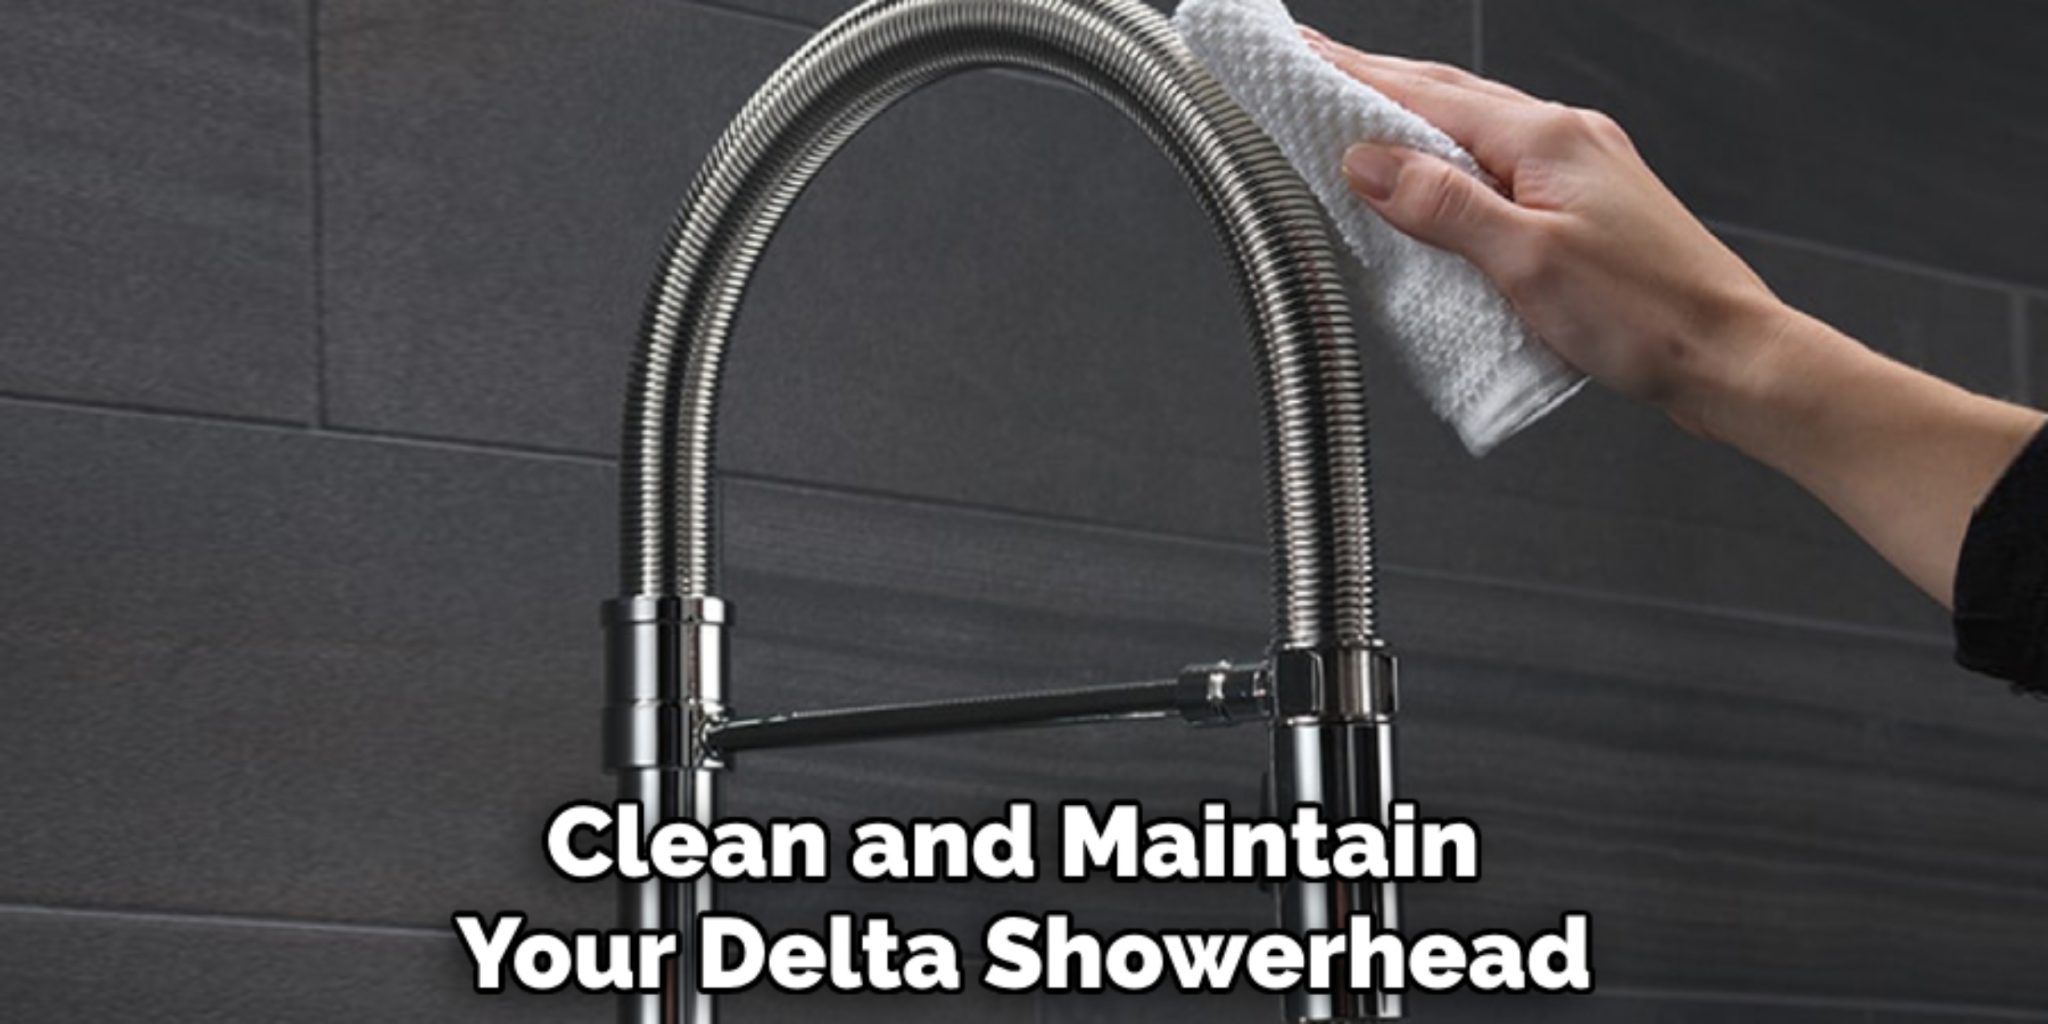
It's worth knowing that not all shower heads are built the same way. Some, like certain Delta or Moen models, might have their own special quirks or pieces that need a slightly different approach or even specific tools to take them apart. For example, if you're trying to disassemble a Delta shower head, you'll first take it off the shower arm, just like we discussed. Then, you'll need to detach the faceplate or the trim ring. You might need an adjustable wrench for this part, or maybe a screwdriver, depending on the model. After that, you'll typically unscrew the inner bits, like the shower head cartridge or the shower head valve, using pliers or a screwdriver. It's a bit like a puzzle, you know, each piece fits a certain way.
Similarly, when you want to take apart a Moen shower head, you'll need to be quite careful to avoid causing any harm to your home's water pipes. Always start by putting that bucket or basin under the head to catch any water that's still hanging around. Use your adjustable wrench to gently loosen the shower head from its pipe. If it feels really tight, remember to wrap a cloth around the head before you use the wrench. This is just to stop any scratches from happening. It’s about being gentle but firm, so you can get the job done without any unexpected damage, which is pretty important, as a matter of fact.
Can You Really Fix a Leaky Shower Head by Disassembling It?
If your shower head is dripping or leaking, it can be really annoying, and yes, taking it apart can often help fix the problem. A common reason for leaks is a tiny piece of debris or some mineral buildup getting stuck inside, stopping things from sealing properly. So, by taking the shower head apart, you can get in there and inspect everything for any of these blockages. You'll be looking for anything that doesn't seem right, like a little stone or a chunk of calcium. Basically, you're trying to find the culprit, you know?
Once you've disassembled the shower head and found the problem, you can clean out any visible dirt or grime. For those tougher residues, that toothbrush comes in handy again to wipe down the surface and remove the stubborn bits. Sometimes, a leak might also be caused by a part that's just worn out or faulty, like a rubber washer or a small O-ring. If you find a part that looks damaged, you'll need to replace it with the right kind of new piece. Having the correct replacement parts on hand before you start can really save you time and hassle. After you've cleaned or replaced what's needed, you can put everything back together and test it out to make sure it's working properly and, more importantly, not leaking anymore, which is the main goal, right?
Putting Your Shower Head Back Together After Disassembly
Once you've finished cleaning, inspecting, or replacing parts inside your shower head, it's time to put it all back together. This process is pretty much the reverse of taking it apart. First, make sure all the internal components are seated correctly. Then, carefully align the shower head with the threads on the shower arm. You want to attach the shower head by turning it clockwise onto the shower arm threads. It's usually a good idea to hand tighten it first. This means just turning it with your hands until it feels snug, without using any tools just yet. This helps prevent cross-threading, which can really mess up the threads and cause future leaks, you know?
After you've hand-tightened it, you can use your wrench or pliers again, but be careful not to overtighten it. Overtightening can actually damage the connections and cause leaks, which is the opposite of what you want. Just give it a little extra turn until it feels secure. Then, with everything back in place, slowly turn the water supply back on. Once the water is flowing again, turn on the shower faucet. Take a moment to inspect the connection point between the shower head and the shower arm very closely. You're looking for any signs of water dripping or leaking. If you see any, you might need to tighten it just a tiny bit more, or perhaps check the washer inside the connection. It's all about making sure that seal is good and tight, so you can enjoy a perfect, leak-free shower once more.
How to Disassemble a Delta Shower Head | 10 Easy Steps (2025)
How to Disassemble a Delta Shower Head | 10 Easy Steps (2025)

How to Disassemble a Delta Shower Head | 10 Easy Steps (2025)
